Showing posts with label vintage junky version. Show all posts

Little Shoppe Project

Hello all!  Thanks so much for all your suggestions on my new iPhone!  I haven't gotten to check them all out, but I will!  I realize it has been so long since I have shared photos of the shoppe.  And, I am not doing that today since I decided late Sunday to move everything (note: ironstone platters make great substitute furniture movers when you are too impatient to wait for your Mr. to help.)  However, I will show you a little project that I came up with for the Mr. to complete.  That is usually how it works.  I will see something... for instance this section of fencing the Mr. picked up:


Now... in my head I flipped it... like this:


Now, I see potential to block the blasted sun that shines through the front windows and bakes the shoppe in the morning.  We had some plastic-y plantation shutters that I had the Mr. take down when we opened.  We still have them on the side windows and I don't love them. 

SO, in true me fashion, I immediately called the Mr and explained to him what I wanted.   He came in and sketched this out:


He is good at reading my ideas and sketching them out.... I scribble rather than sketch. I told them there had to be an odd number of panels... that was super important.  I am an odd number gal.

So after the sawing and the painting, I got the striped awnings that I have always wanted for my little shoppe.


They are way cuter than the dust loving shutters!  I am planning on adding my logo to the windows underneath.  


They are fun and rustic, but not too whimsical.  Now, I just have to convince the Mr to make me 2 more and take the shutters down.... those shutters are heavy though, so it may be awhile.

Okay, pinky promise that once I get this chaos organized into something presentable, I will share some photos.  

bye for now~

How To: Silver leaf the Non-Exact Way


hello there!  Hope you a simply wonderful long weekend!  Our Fourth was spent outside, with friends, enjoying all the money that others spent on fireworks!  We are talking major show watched from our deck.

A few weeks ago, Mr. Hughes brought home a little table with great curves and quatrefoil top.  Immediately I thought, well, I will dress her up with a go- to grey and that will be that.  But, while driving around with the hyena, I had an epiphany (all my deep thinking happens when I drive, by the way) and I called the Mr. and I said, " how about silver leafing the top?"  He proclaimed me a genius (not really) and I swung by and picked up some more sizing since I knew I was running low.  So here, my friends,  is how to silver leaf a table in the Vintage Junky fashion:


Here is the table swathed in her new grey paint


You will need silver leaf sizing (you could probably also use spray adhesive, but I have a feeling the over spray would be a nightmare if you didn't prep, and I don't like to prep!)


Put on a thin, even coat awkwardly with your left hand so that you can take a photo with your right...


While you let it dry completely, run in the house, grab a can of yellow and spray paint a chandelier yellow for your vintage camper... no?  Just me?  Remember what your husband said about not getting any spray paint on the contacts and run back inside to get something to cover them.
Okay, should be dry.


Get out your silver leaf and a brush.


Try, as always when you silver leaf, to get the brush to pick up the leaf by static reaction.  When this doesn't occur, very, very, very carefully pick it up with your fingers (make sure they aren't sticky from sizing or spray paint... )


Place the leaf on the table and smooth it down with your brush.  Just smooth along that piece... don't start dusting along the edges just yet.


Place another piece directly underneath and follow this process until...


You decide to move out of order since it was looking too orderly.  At that point, put the leaf wherever you want.  


You can gently, gently, gently tear the pieces that over hang and use that to fill in spots that you perfectly line up to the edge.


Cover the whole table, or most of it.


Now, this is where the magic happens, start to dust the excess silver leaf off with your paint brush.  Do it in a "I am excavating for fossils" sort of way.  This is fun.


Watch how the excess lazily floats to the ground.  Say a little prayer that the wind doesn't blow the flakes over to your chandelier.  Say "You're Welcome" under your breath to the neighbors who will most likely find the little bits on happiness dancing in the breeze.


There, all leafed.  Now, sometimes you will find spots that for some reason (even though you put on a perfectly even coat of clear sizing) that the leaf didn't stick.  You can resize those areas and releaf.  I am assuming though, that if you made it this far in this tutorial, that you don't care about perfection and that you would rather it look a little worn and vintage.


So this next step is for you guys: lightly (and I mean lightly) sand the surface... use a 320 grit.  It will sort of antique it and tarnish it a little.  Some people (the ones who follow the directions on the bottle) will seal the top.  I prefer to leave it unsealed so that it will get a patina over time.


And there you have it.  A silver leafed top.


Stand back and admire all your hard work.  

Much to your surprise, this isn't my first time silver leafing.  I have done several mirrors, knobs, pumpkins... I think I like it since it has that mercury glass look.  It is pretty simple... if you do it my way. 
Okay, go silver leaf something!

bye for now!

Copycatting and Some Other Things that I am Excited About!

hello there!
How are you? 
Well, I thought I would share the other things sweet Mr. Hughes did for me the other day, besides the mirror. Without me nagging or whining!
I saw these rolling crates a few months ago, and I just thought they were the greatest!
But, check out the price!
And I thought... well, I have one of those in my laundry room...
and I am sure they have casters at Home Depot that would work.
So, my Mr. attached them for me and we have additional storage for baby hughes' books.


Inexpensive too... I think I paid $15 for the crate and maybe $5 for the casters.
One of my must reads, Holly Mathis,  converted some soda crates for lego storage here.


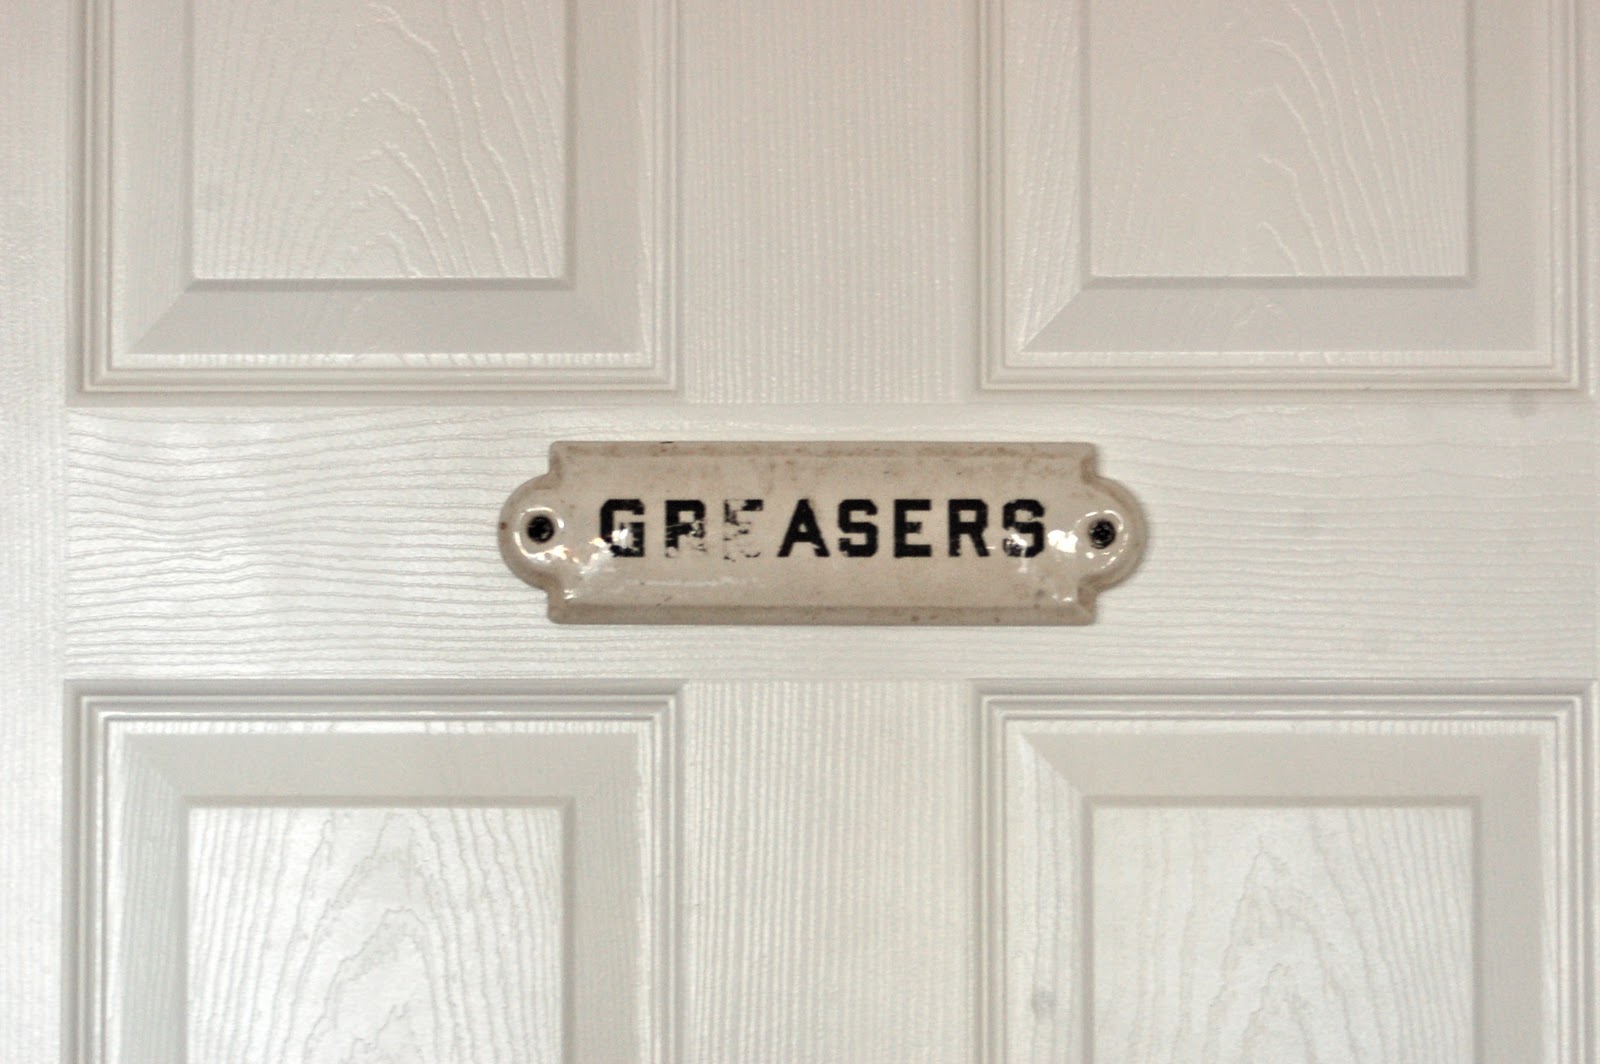
And I am super duper excited about this little sign that the Mr. found... does anyone know what it could be from?  I originally wanted to put it on the garage door, but it is metal and didn't want to drill holes into it.  So, it marks our coat closet for now.  


And this... I finally convinced The Man to let me move this downstairs.
It was in the office/playroom/library/trainroom/recroom
covered in papers.
That is no way to treat a vintage type-r-writer!
It moved downstairs and I love it there.


And this... this is part of my growing stack.
It isn't quite finished yet... but it is getting there.
I haven't decided if I am going all the way up to the ceiling or not.
So, if you are dying to get rid of any fabulous vintage luggage, feel free to send some my way!

And I am still excited about the Music Valley Antiques Show this weekend!  It is supposed to be pretty here and I am ready to go treasure hunting.
If you are going on Friday, look for me... I will be the one with the incredibly cute and incredibly wild hyena and handsome husband.... there can't be to many ladies with cute kids and good looking husbands out there, right?
*wink*
here is the info in case you missed it the other day
 
It is February 17-19.
Tennessee State Fairgrounds
625 Smith Ave
Nashville, TN 37203
 
Well, I think that is all I am really excited about... oh, I almost forgot about my Valentine's present.... I will share that later!


bye for now!

How To: Turn a Coffee Table into an Upholstered Bench

Okay, here it is... a finished project!  And, I thought I would give you a how- to in case you have a coffee table that needs a transformation. A warning: some of the photos are not the best since I only had an assistant part of the time and part of the project was completed in the evening (dark photos taken with one hand = ugly)  but, you will get the idea. 

 Here is a little background on the project:  
Baby Hughes was clearing tables to play cars on... basically throwing photo frames on the floor.  We needed a coffee table since we were using baskets in the place of a table... wicker baskets = not a good "road" surface.  Plus, Mr. Hughes likes to put up his feet when he's watching the TV (but not Cable!)  So, we relocated a table that was in the library to downstairs.  Only problem is, sharp corners.  And, I didn't want to use corner guards.  So, I decided to cover the coffee table.  It is very sturdy and can actually be used as a bench.


Here is where we started.  This table had already been stripped and refinished once.  We seriously got it for $15 at Goodwill... sometimes I have the tendency to exaggerate the deals I get, but not this time.  I painted the legs and apron of the table with 2 coats of black paint.


Here is what you will need:
Spray Adhesive
Utility knife (or a serrated knife)
Staple gun
Batting ( I used a twin size quilt roll)
Foam (get the store to cut it to size, I used 2" thick)
Fabric
Scissors (ones that are sharp that you only use for fabric)
A rotary cutter
Glue gun
Trim
and an assistant will make it go faster (the handsomer the better *wink*)


Start by laying the foam on the floor and turning the table upside down on top the foam.  Then cut your foam to size with your knife... be careful not to cut through to your floor!  (If you get a little jagged edge, don't worry, the batting will help cover it.)


Next, take your foam outside and spray one side of it with spray adhesive.  Let it dry for a minute, then place the sticky side down on the table top.  


Next, lay out your batting.  Place the foam covered table upside down and make sure the batting is very flat with no wrinkles.  Trim your batting so that it will cover the foam edge and fold over so that you can attach it to the under side edge of the table.  (Someone needs a manicure!!)


So, here is the table laid out on top of the trimmed batting.  Notice the detail in the table's edge... that wouldn't look great if I simply stapled my batting and fabric over it.  So here is how I solved that problem:


I used the extra batting to fill in the detail of the table.  It was a narrow piece folded in half.


Then I just stapled it on the edge of table.


This is how the detail looks covered.


Then I took the batting that I trimmed and covered the foam and the extra batting I added.  I just wrapped it like a present and stapled it.  Be careful around the corners and trim the extra batting, otherwise your finished bench will have lumpy corners.


I flipped it over to give you an idea of what it looks like at this stage.  Now you are ready for the fabric.


Roll your fabric out face down (make sure you iron it if it has been folded.)  This fabric was easy to measure and cut because it was geometric, but it was harder to get straight and even because it was geometric.  If you are using a geometric pattern or a stripe, be sure that you have it even or the lines will be all wonky.  Florals and solids are easier to work with.


Now flip your table over on top of it and make sure your fabric is straight and taut.  Trim the fabric, but leave enough that you don't end up short.


Pull your fabric taut and staple once in the middle of one side.  Now, go to the opposite side and staple once in the middle.  Repeat on the other 2 sides.  I flipped it over at this point to make sure the pattern was straight.  Then, flip it back over and staple one side, stopping a few inches from the corner.  Go to the opposite side and repeat.  Then staple the 3rd side, again stopping a few inches from the corner. And repeat on the 4th side.


Now for the corners:  I had Mr. Hughes do this so I could attempt to photo the play by play.  You may have to add a staple so there isn't as much fabric to get in the way like he did here.  Regardless of which way you fold, just make sure they are all identical.  And, it may take you a few tries to get it just how you want it.


You are going to fold down one side and staple it to the opposite side of the corner to secure.


Make your fold and try to stay along the corner.


Tuck the extra fabric from the opposite side into the pocket that is created by the fold


Pull the fabric taut and keep your fold in place.


Staple to the underside of the table.  Make sure you like the way it turned out before doing the other corners or trimming.  Repeat on all 4 corners.


This is what it looks like trimmed... I didn't get a photo of us trimming it with the rotary cutter.  It definitely needed some trim.


I wanted something a little more fun than this trim, but I couldn't find anything that I liked in Jo Ann's and I wanted the project finished, so I went with a basic black braided flat trim.


I just added the trim with a hot glue gun (and took off some paint in the process!)  Keep your trim level, taut and flat while you are gluing.


Then, you are finished!


Here is a shot of the corner once it is all complete.


And, here is the finished project. I would have liked to do tufting, but as Mr. Hughes wisely pointed out, cars don't roll on tufting.  Plus, this pattern might not look great with it.  I also thought about piping, but that is a crumb catcher and my little boy loves to eat Goldfish crackers.


Now,  I really want a white lacquer tray for Baby Hughes to throw on the floor, I mean, to put lovely things on.  And, I know I saw one at Target, but now I can't find it.  So, the books will do for now... they will be gone by tomorrow I am sure and replaced with cars and other books!

I hope to finish Baby Hughes' bathroom this weekend... actually got the towels from Pottery Barn Kids yesterday, instead of March 6th!  Love it when that happens!  So, maybe I will get one more project marked off my list.


I am joining Miss Mustard Seed's Furniture Feature Friday!

and Maryann at Domestically Speaking!

LinkWithin

Related Posts Plugin for WordPress, Blogger...